


Game Introduction
Wild, shocking, overwhelming.
The campaign of this game is to CF what Giant City is, to CSOL what Catastrophe Mode is, and to Reverse War what Abyss Challenge is.
CF has been ahead of Western FPS for more than ten years. He truly is… I’m crying.
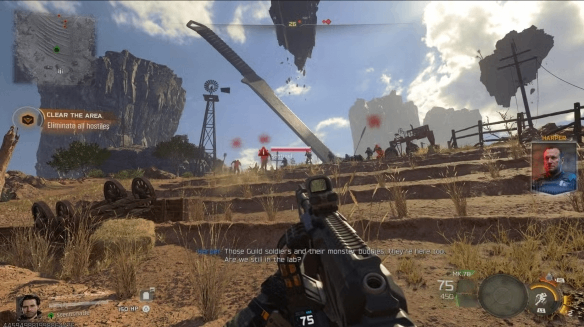
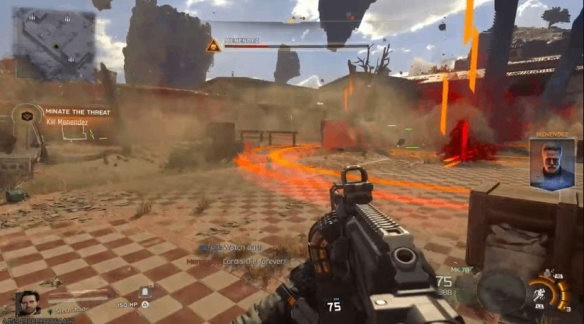
To make up for the lack of large-scale scenes, you can even see a 50-meter-long giant blade falling from the sky and chopping your head in COD22.
If you had told me 10 years ago this would be in Call of Duty, I would’ve replied:
“Bro, you must be high.”
Now that I’ve actually played it, all I can say is:
Either I was hallucinating while playing, or the dev team was high—though I’m pretty sure I wasn’t.
In Black Ops 6, only the intel-stealing mission was memorable.
But in this game, the whole 4-hour campaign is high-energy.
Poison gas, hallucinations, four squad members each entering a different illusion—
One second you’re in the desert, next second in a prison.
One second someone’s your teammate, the next they’re a boss.
They talk big one moment, then get instantly obliterated the next. Very on-brand.
Previous years were called “Single-Player Campaign,” but this year it’s “Co-op Campaign.”
As the name suggests: four players required; single-player is not viable.
The level design in co-op mode is not identical to single-player; let’s just say “different model, different flavor.”
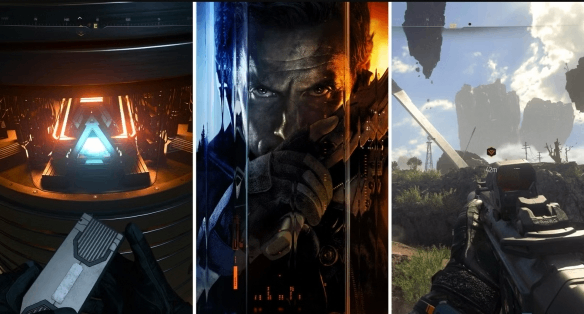
Large-scale scenes? Yes: 50-meter giant blades, 100-meter giants, giant zombie flowers, and Gundam-sized robots create overwhelming pressure.
But the disappearance of cinematic popcorn-style cutscenes is a bit of a pity.
Pure co-op shooting might get repetitive, so the devs added two active abilities to the campaign:
grappling hook, super jump, grenade launcher, hand cannon, drones, killstreaks… even teleportation.
If these features ever get added to multiplayer, who knows what pros might do with them.
The campaign is short—around 4 hours.
There are over 10 missions, all linear except the last one which is a “search-fight-extract” layout.
Other than the first mission being traditional COD, the rest highlight pure imagination.
Due to poisoning, all the maps are illusions and collapsing landscapes.
The scene variety is excellent—at times, it feels like revisiting Elden Ring’s Sky City.
The last mission is a large open-map extraction mode.
Dozens of players roam the area, finding tasks and objectives on their own.
The map is dense with mission points—walk a few steps and you find a new objective.
Clear tasks to level up, progress weapon challenges, gather desired materials, then fight the boss and extract safely.
This part is standard but decent; if you enjoy grinding weapon XP and attachments, this mode is worth considering.
Multiplayer Just Needs to Be Better Than the Campaign
As for multiplayer—
Omnidirectional movement + wall kicking didn’t feel too strong at launch, but occasionally a pro would style on me with insane movement.
I swore I’d master movement and become a pro myself… only to get stomped instantly by steady tracking players. Had me laughing.
Even if you can’t wall-kick, the movement system actually helps casuals:
Ladders become irrelevant; mobility increases; aim duels get faster; kills feel great; and deaths are quicker.
The pacing is maxed out.
Maps feel slightly bigger than the previous game, but battle density hasn’t decreased.
Everything feels smooth—barely any unplayable maps.
Fewer camping spots, fewer crossfire chokeholds, no more getting stomped instantly during sprinting.
Looking forward to the Season 1 update of Nuketown—time to enter the meat grinder.
Weapon balance is very even—everyone claims their gun is a wheelchair (OP).
Day 1: default gun felt great—medium everything, very stable.
Day 2: switched to AK, felt even stronger.
Day 3: used the revolver—one-taps everywhere, borderline absurd.
Not sure if nerfs are coming, but at least I enjoyed it while it lasted.
As for the removal of SBMM—good or bad? I honestly didn’t feel much difference.
As someone who only plays COD a few dozen hours per title, my KD with SBMM was ~1.
In this open mode? Still ~1.
In SBMM mode? Still ~1.
Barely any difference.
Match intensity changed slightly—lean-back gaming vs. sit-upright gaming—but not a big deal.
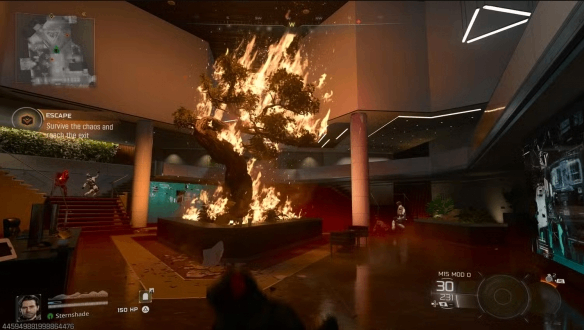
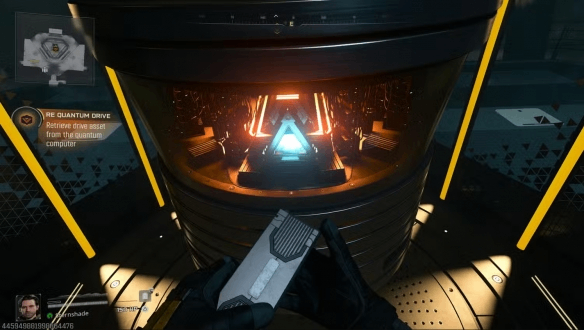
MISSION: Leak Crisis
This is the opening mission of the campaign.
You must infiltrate a Guild facility to seize the Quantum Drive, ending with a boss fight against Menendez.
The mission includes clearing areas, solving puzzles, defensive encounters, and a boss fight.
Use weapon crates and supplies in the environment as much as possible.
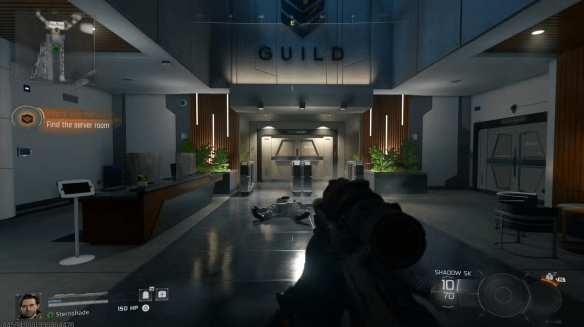
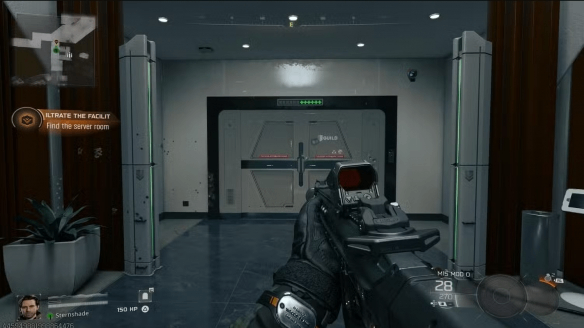
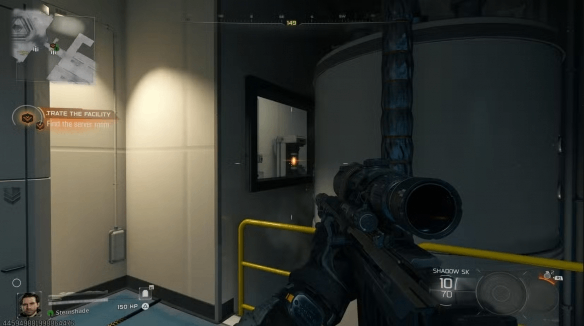
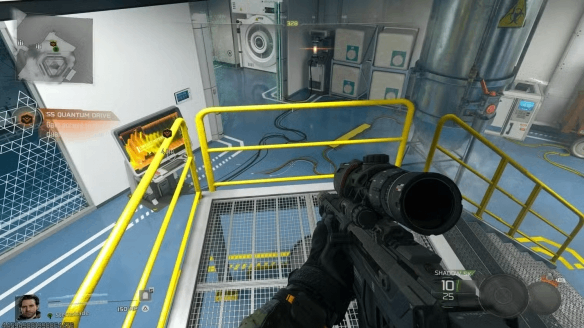
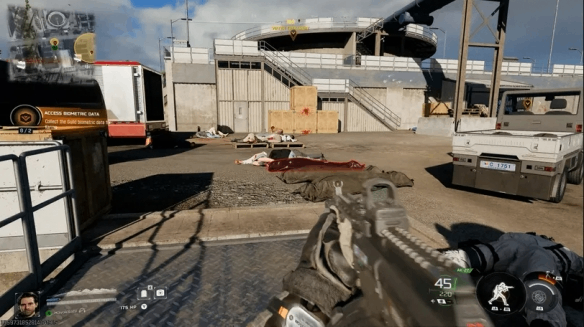
Facility Entry & Clearing
The mission begins inside a Guild installation.
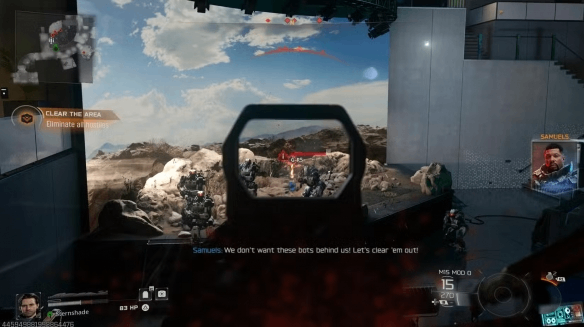
After landing, clear the first room using the initial sniper rifle or the M15—
the latter is better for close quarters.
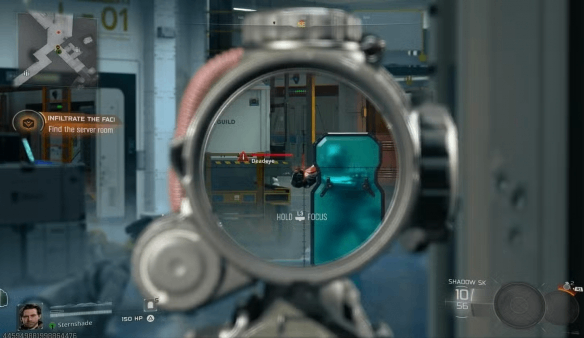
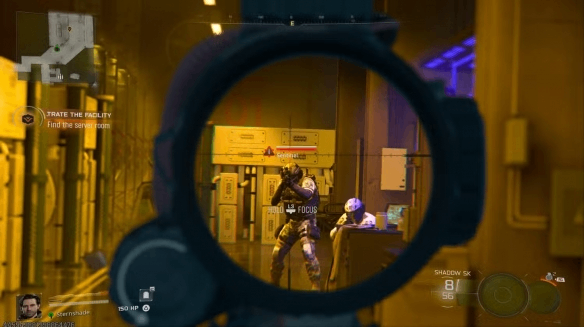
After clearing, pass through the door ahead and eliminate all enemies on the balcony and lower floor.
Sniping from the doorway is safer.
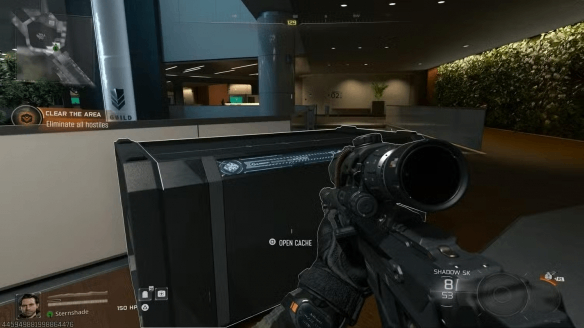
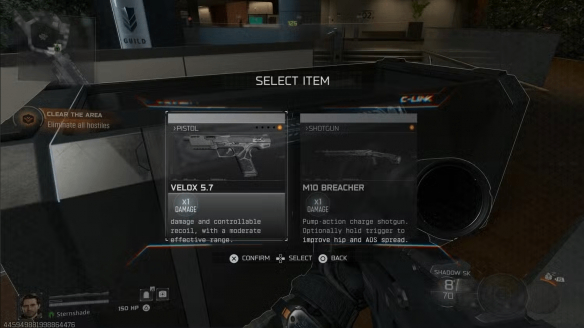
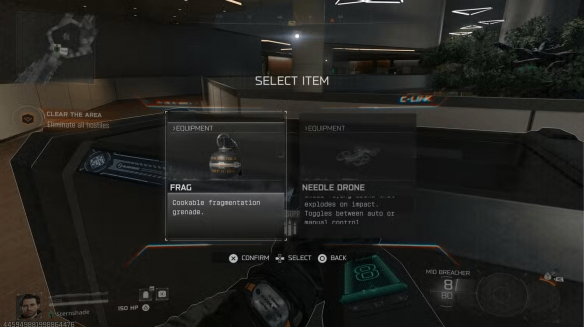
Equipment Supply
Weapon crates allow swapping weapons (pistol, shotgun) and changing attachments (frag grenades, needle drones).
Survival Tips
Use armor plates in the environment to maintain survivability.
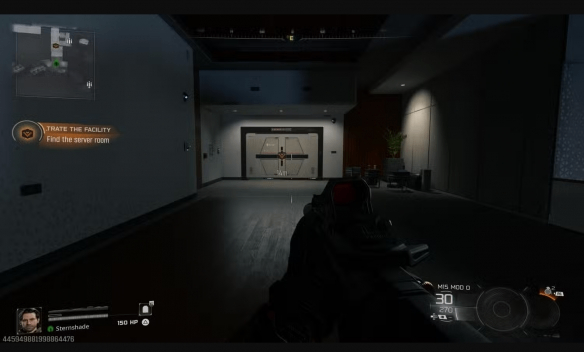
Follow minimap objective markers for navigation.
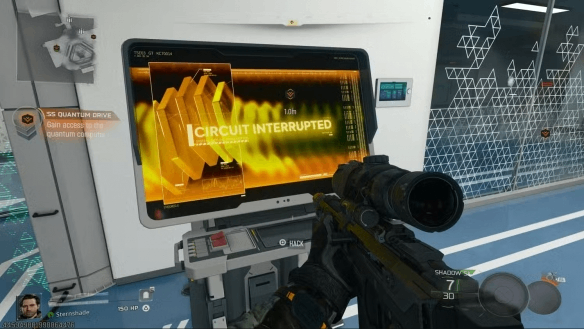
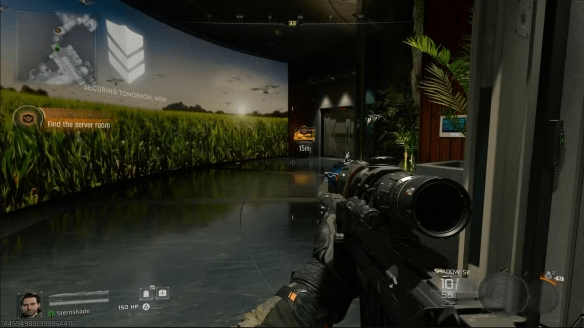
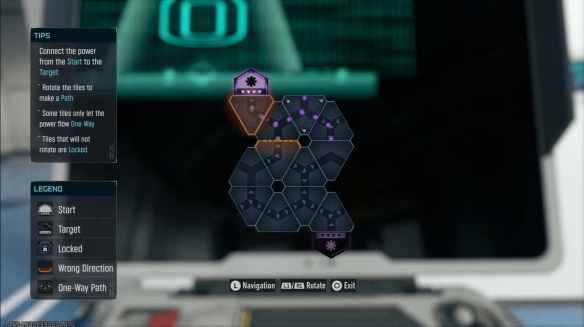
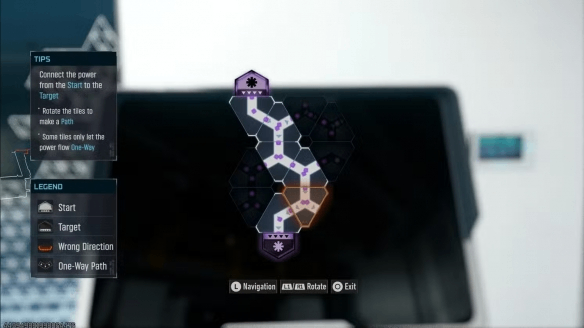
First Puzzle & Breakthrough
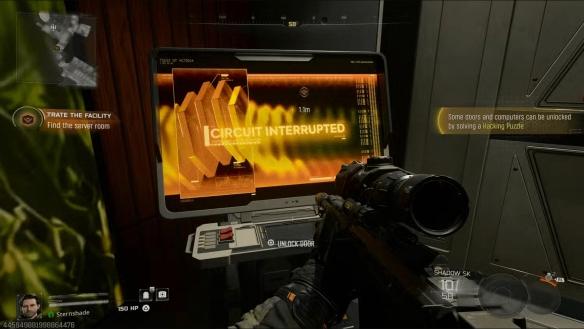
Terminal Hack
In the basement room behind the cornfield hologram, locate the terminal.
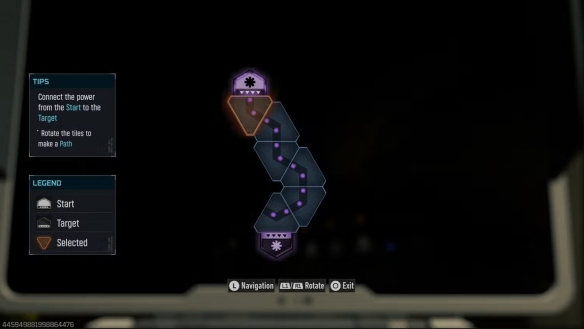
Start the hacking minigame: rotate nodes with L1/R1 (LB/RB) to connect the current.
First puzzle is simple—rotate the top and bottom nodes.
Robot Ambush
Entering the next area triggers an ambush from dormant robots.
Use cover and let HP auto-regenerate when needed.
Disable Barrier & Advance
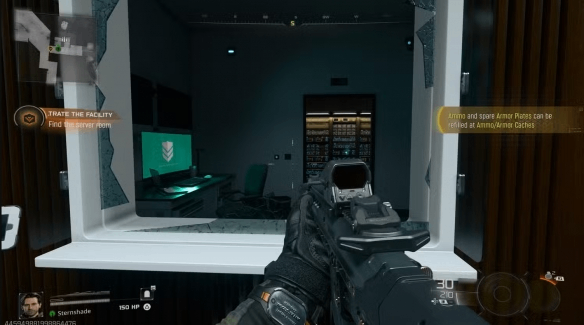
Follow glowing floor cables to locate the power source.
Climb through the window to the right of the barrier into the security room.
Destroy the orange power cell to disable the barrier.
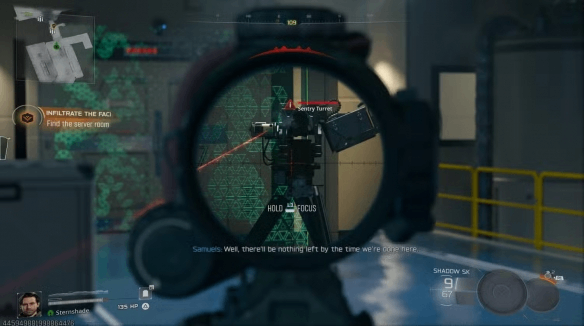
Proceed forward and clear more enemies including auto-turrets.
Reach a force-field-locked door; destroy the turret first.
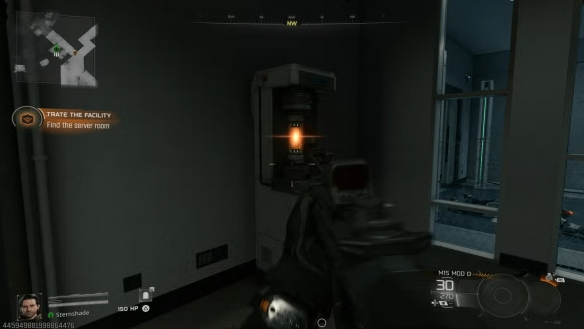
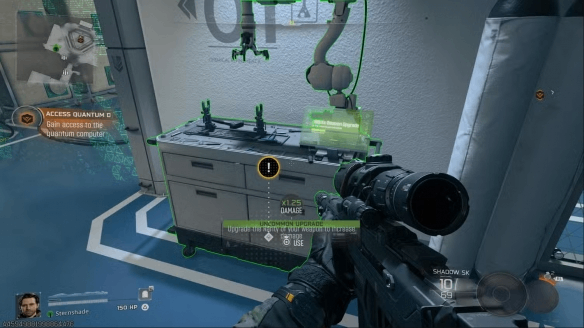
Quantum Computer Core
Destroy the power cell through the right-side window to unlock the door.
Inside, a “Prison Break” station can upgrade your weapon for free—use it.
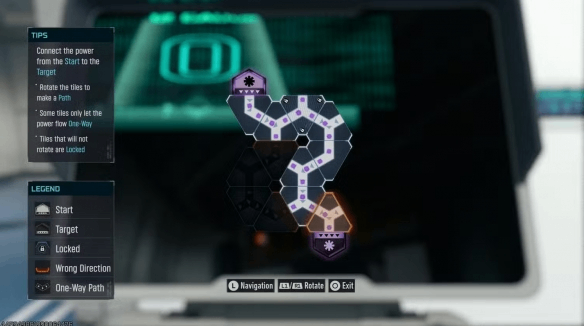
Dual Terminal Hack
Climb to the upper balcony via both side rooms and hack two terminals.
Then return to take the Quantum Drive.
Plant Charges & Toxic Gas Escape
Install explosives at four marked points—two require climbing.
Midway, you’ll be ambushed; clear enemies before installing the remainder.
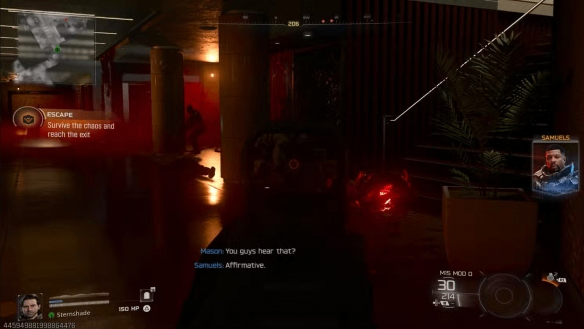
Hallucination Escape
Toxic gas mutates enemies into zombie-like variants—stronger and erratic.
Fight your way back to the starting room, go upstairs, and open the final door.

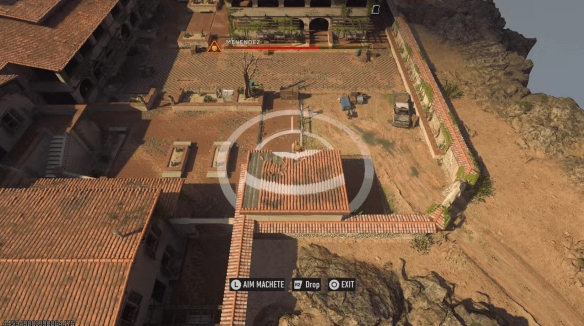
Courtyard & Boss Fight
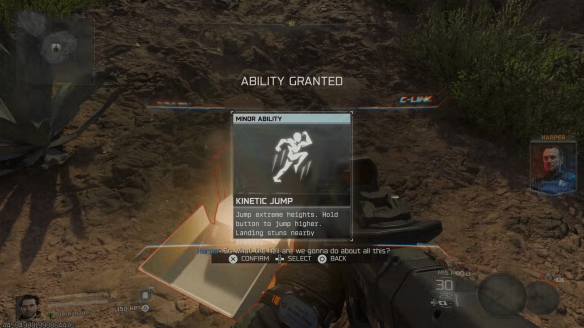
Kinetic Leap
Outside the contamination zone, acquire Kinetic Jump (L1/LB).
Allows huge vertical jumps + extended distance.
Use it to reach floating platforms.

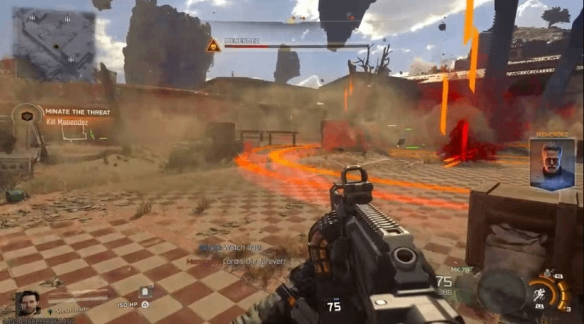
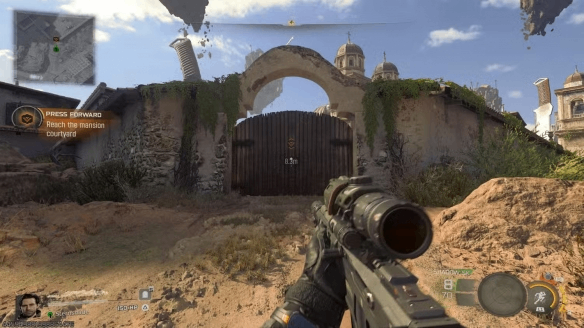
Courtyard Battle
Clear enemies on your way to the manor gate.
Beware rooftop “Destroyer” units with rocket launchers.
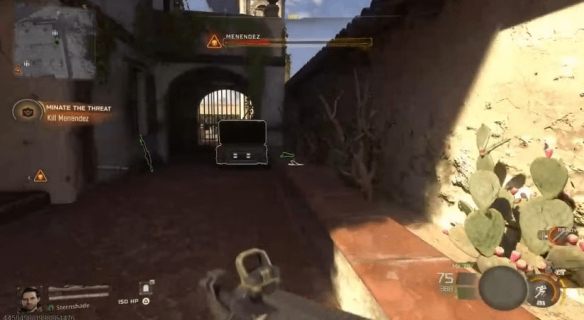
Menendez Boss Fight
Mechanics
Teleports
High HP
Summons zombie mobs
AOE warning circles for falling knives

Strategy
Turn right after entering the gate; a corner ammo/armor crate provides infinite supply.
Counterattack
After AOE, glowing knife icons appear—walk up and hold □ / X to pick one up.
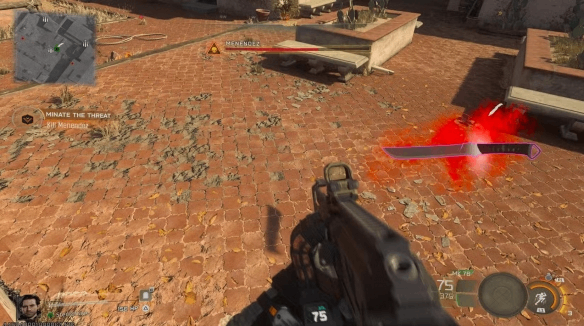
Finish
Open weapon wheel, select Knife Airstrike, and throw when Menendez pauses.
Key Collectibles & Mechanics
Intel #1: At the well in the village outside the facility (pre-boss).
Hacking Minigame: Rotate nodes to connect power.
Kinetic Jump: Required in outdoor areas.
Boss Tip: Use corner supply crate and Knife Airstrike.
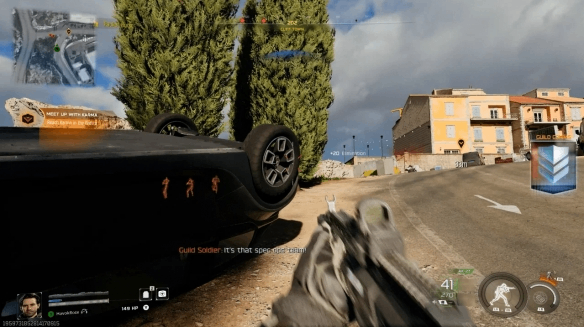
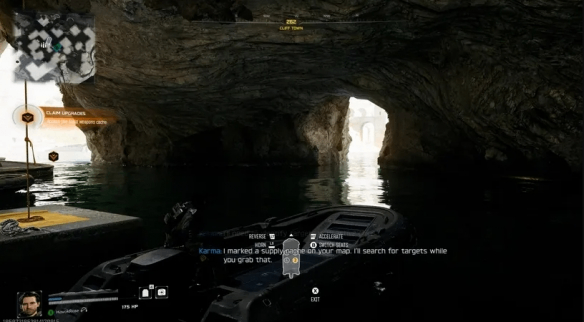
Mission: Stage 1 – Meet Karma in the Cave
After the cutscene briefing from Commander Marshall, you begin operations on Avalon with new weapons and abilities.
Try New Abilities
Vision Pulse: See enemies through walls; marked enemies take extra damage.
Black Hat: Instantly destroys basic robots; can disrupt soldier comms; some robots can be hacked into temporary allies.
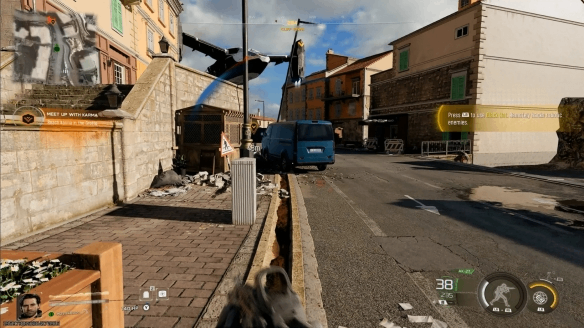
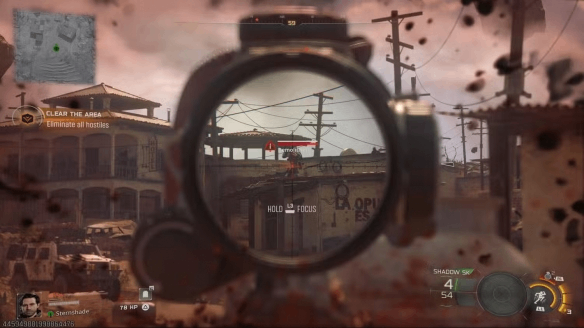
Through Cliffside Town
Clear Guild soldiers at the town entrance, proceed through alleys.
You’ll spot an elite drone—kill it fast to avoid reinforcement swarms.
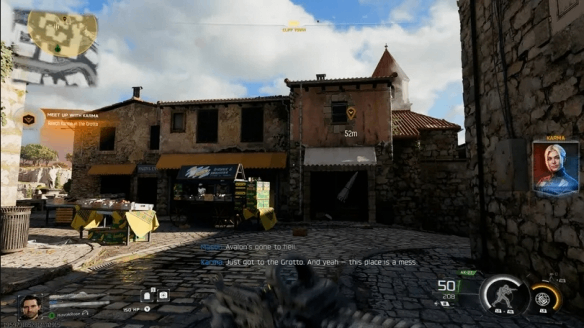

Reach the Cave Entrance
Move up the right-side streets into dense buildings.
You don’t need to kill everyone—approaching the objective shrinks the radius.
Use the yellow zipline to slide into the cave and meet Karma.
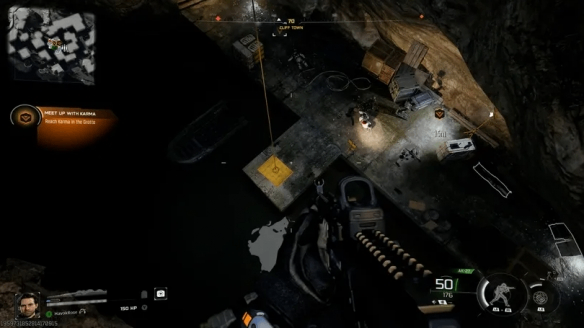
Intel: “The Truth”
Inside the cave, next to Karma on her right, by a light and ammo box, is a body bag—collect the intel.
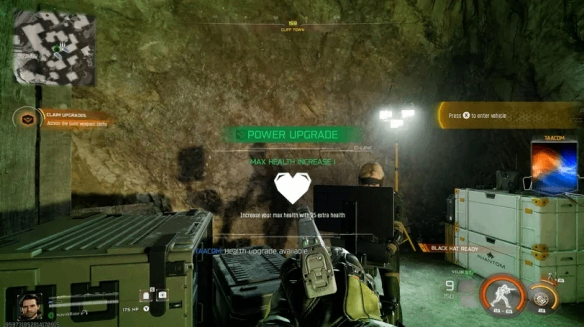
Talking to Karma triggers a cutscene about biometrics and grants the first max-HP upgrade.
Stage 2 – Acquire Gear & Biometric Data
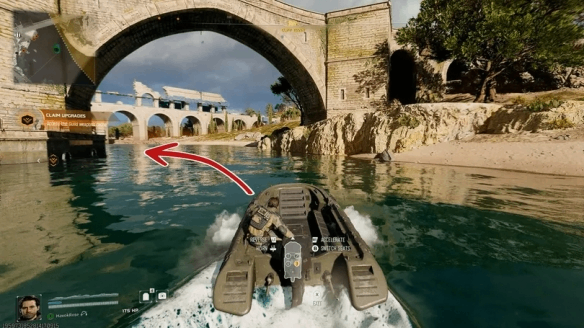
Weapon Upgrade Pickup
Karma located new weapons for you.
Find the tactical rubber boat on the docks; follow the river.
Land after the second bridge to get close to the objective.
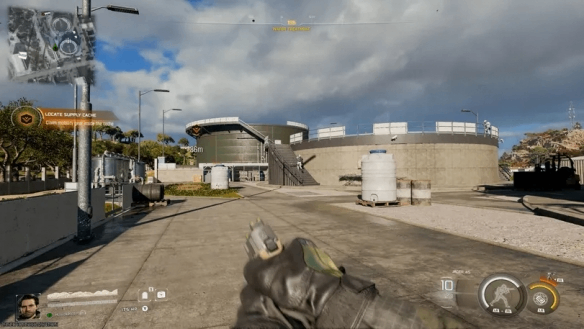
Capture Supply Cache
Few Guild soldiers guard it; clear them and take the weapon.
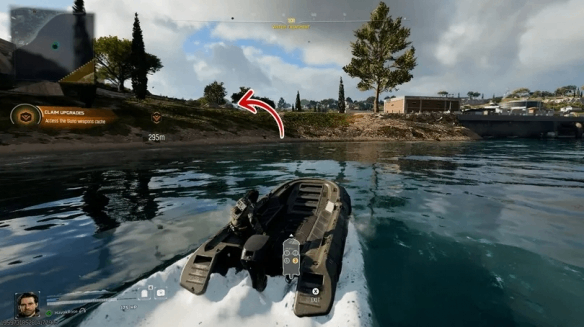
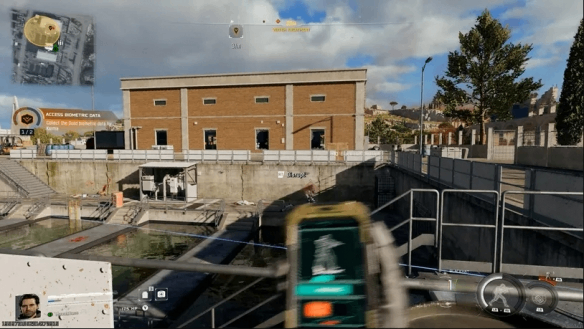
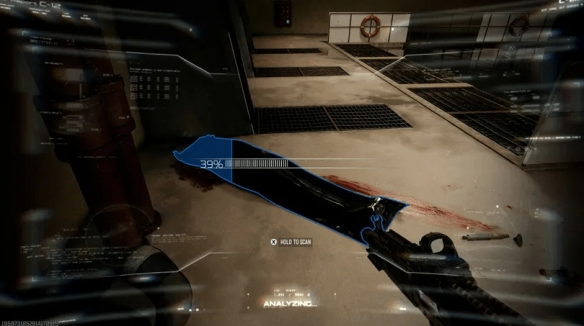
Scan Biometric Data
Head to the water treatment plant to scan two corpses.
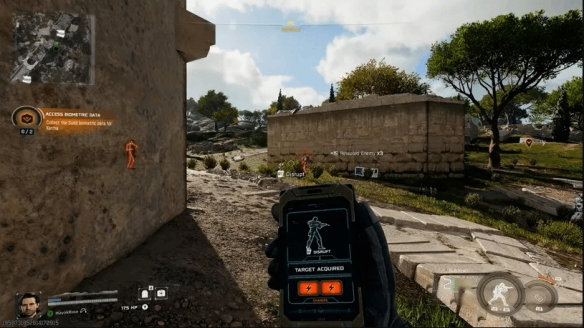
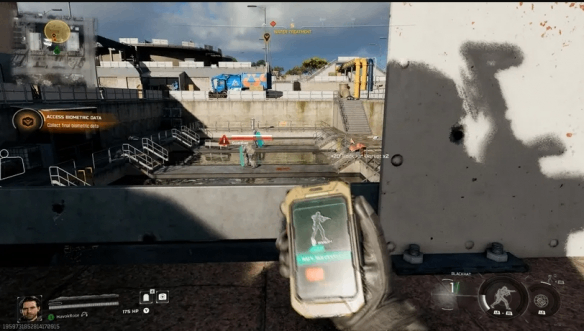
East corpse: black body bag among other bodies—use Vision Pulse.
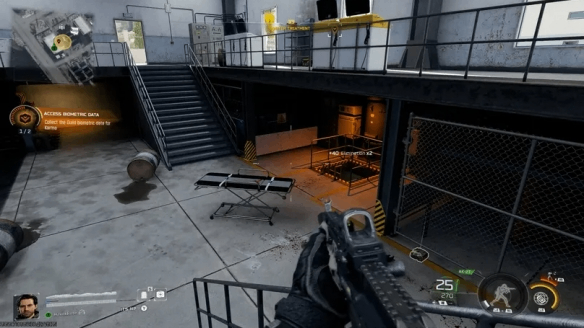
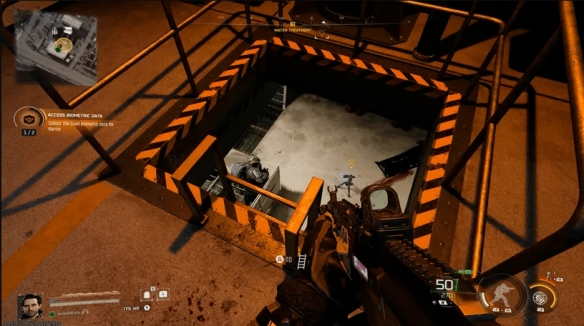
West corpse: underground basement connected to a waterway; enter building, go down, jump through yellow-lit hole; corpse is on the right.
Stage 3 – Defense & Mobility Upgrade
Hold Position
Guild reinforcements arrive—hold for ~1 minute.
Use elevation; Black Hat is effective on shielded guardian robots.
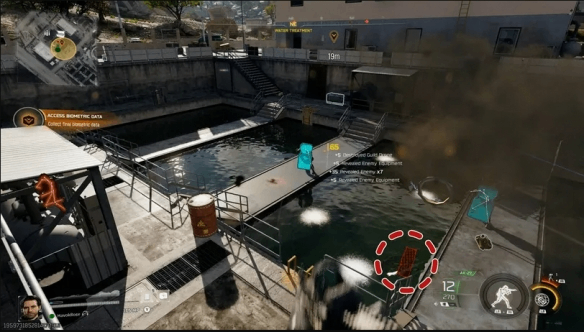
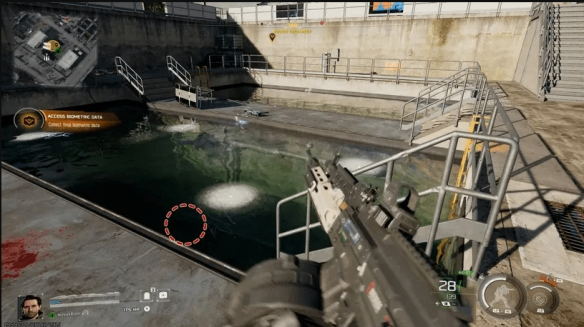
Scan Third Corpse
In the center water pools—watch for electrical pulses.
Jump in during safe intervals.
Mobility Upgrade
Move south through the plant; climb the green-gray water tank.
Obtain Kinetic Jump from the ability cache.
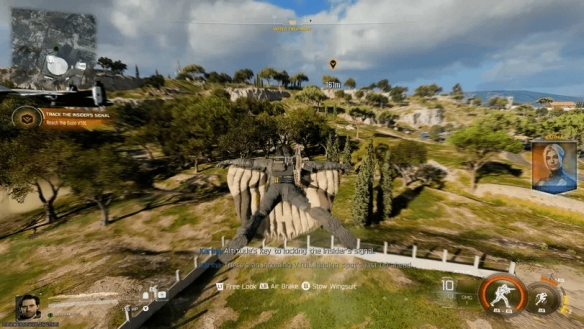
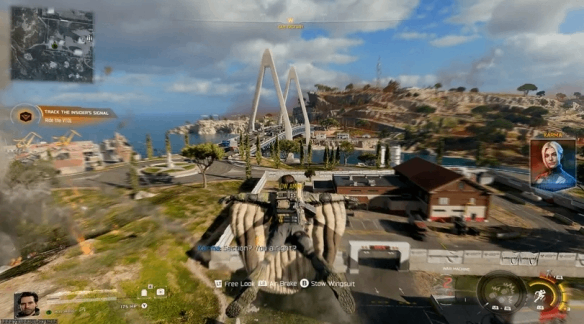
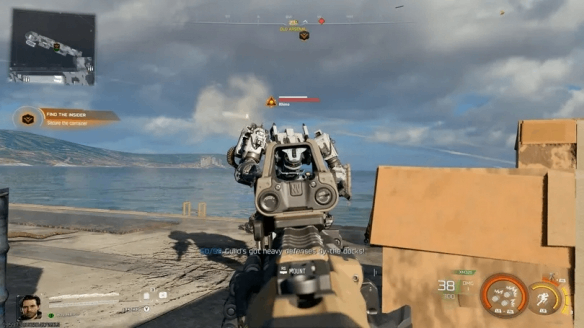
Stage 4 – Track the Insider Signal
Chase the Guild VTOL
Use Kinetic Jump for long glides; clear soldiers at the landing site.
Ride the VTOL
Hop onto the VTOL; Karma takes control.
You must shoot at soldiers below during flyovers.
After passing the car factory, the VTOL crashes—use wingsuit to glide.
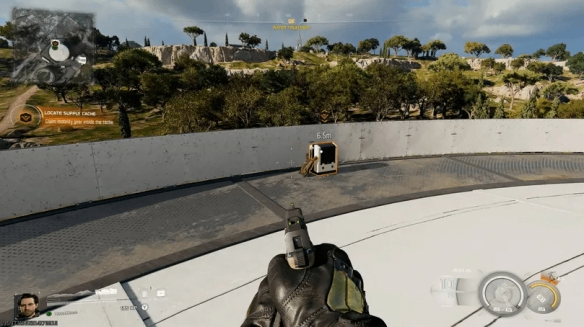
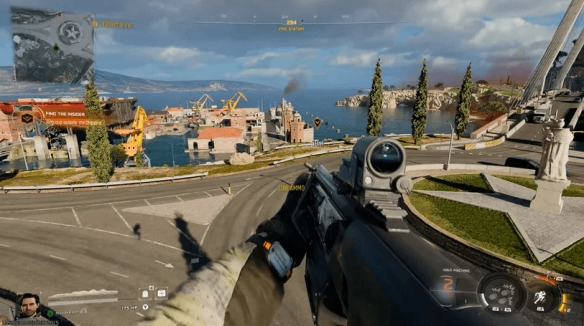
Stage 5 – Locate & Protect the Insider
Infiltrate the Shipyard
Reach the marked point to trigger a cutscene; insider hides in a shipping container.
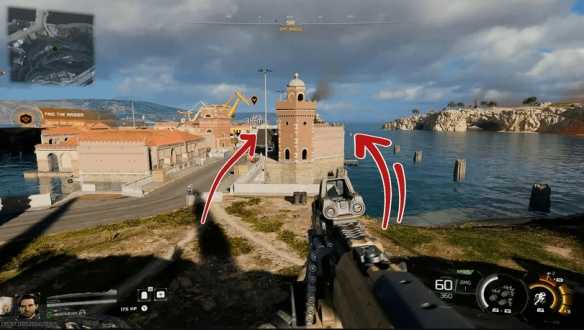
Break Through the Docks
Hard route: fight through buildings and streets.
Easy route: Kinetic Jump around the right side to skip engagements.
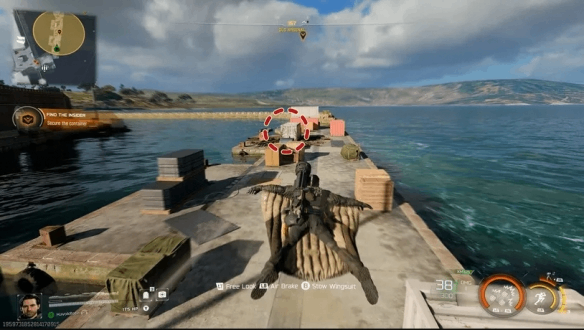
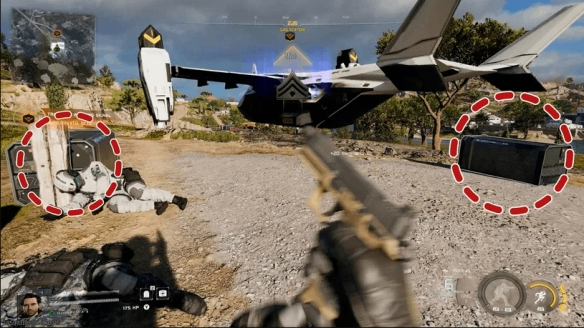
Defeat Rhino Robot
A Rhino unit drops near the container—high HP.
Use containers for cover; turret equipment helps greatly.
After defeating it, open the target container to find the insider, triggering a cutscene and ending the mission.