Delta Force: Hawk – Practical Combat Guide
Four Core Skills
1. Trace Detection (Passive Skill)
Effect: Dual-mode adaptation for different scenarios
Frontline Fire Zone:
Can see recent enemy footprints.
Yellow = already scanned
Red = requires aiming and scanning for 1 second
Scanning reveals enemy ID, operator type, armor level, and distance:
Within 30m: “Very close”
30–70m: “Close”
Beyond 70m: “Far”
If an enemy touches a container or is hit by their throwable, you can also obtain intel.
Total Battlefield:
When targeted by an enemy, the screen edge flashes a warning.
When a threat is detected, Hummingbird Camera can be instantly deployed as a countermeasure.
Usage Notes:
Prioritize scanning fresh footprints (red) to determine recent enemy movement.
Combine scans with terrain to predict travel routes.
In low-visibility environments (fog, wildfire), footprint tracking helps avoid blind advances and prevents ambushes.
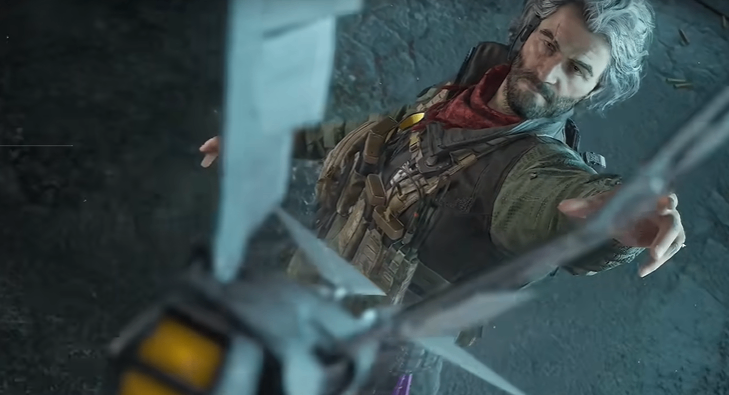
2. Hummingbird Spy Camera (V Key, Tactical Equipment)
Effect: Dual-mode enemy marking
Frontline Fire Zone:
Release toward enemy traces; marks enemy position every 3 seconds (max 5 times).
Can switch to camera POV for reconnaissance.
Camera is destroyable after its third scan and may expose your position.
Total Battlefield:
Release directly onto enemy bodies; marking works the same.
Even after the enemy dies, the camera continues working.
Usage Notes:
Deploy on enemy flanking paths or behind capture points for long-term surveillance.
Combine with drone deployment for “air marking + ground monitoring.”
Mark information is shared with teammates.

3. Falcon Drone (X Key, Core Equipment)
Effect:
A manually controlled reconnaissance tool that can mark enemies within 90 meters, carry and drop pulse grenades, and deploy Hummingbird Cameras onto targets.
Supports “burning self-detonation”, which disrupts enemy vision and deals slight damage.
Usage Notes:
Deploy early to scan for snipers and point-holding enemies.
When locked onto, activate self-destruct to escape quickly (self-destruct boosts flight speed).
When carrying pulse grenades, drop them from long range onto groups for maximum disruption.
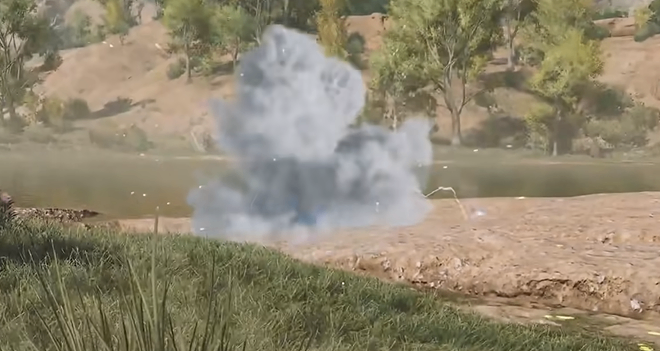
4. Pulse Grenade (G Key, Throwable)
Effect:
Deals no direct damage.
After throwing, disables all enemy electronic devices (scopes, drones, radar, etc.) within 15 meters for 15 seconds, adding visual dizziness and paralysis.
Can be deployed via drone or triggered through self-destruction.
Usage Notes:
Before attacking, throw to disable defensive devices.
When defending, block key chokepoints.
Against ability-dependent operators (Luna, Mai Xiaowen), disrupt their skill rotation.
In close-range fights, bounce off terrain to force enemies from cover.
Operation Techniques
Core Sequence:
Trace Detection → Drone Marking → Camera Monitoring → Pulse Grenade Interference
Key Combo: “Track → Mark → Disrupt → Focus Fire”
Use passive footprint scanning to locate enemy direction.
Deploy drone for precise aerial marking and drop the Hummingbird Camera.
Throw (or drone-drop) a pulse grenade to disable enemy electronics.
Share intel with teammates to execute flanking or frontal assaults.

Terrain Utilization Techniques
Low visibility (fog, wildfire):
Use drones for aerial scanning; place cameras on terrain edges to monitor entry routes.Narrow corridors:
Bounce pulse grenades to block chokepoints; cameras force enemies to reveal themselves.Open areas:
Let drones patrol continuously; take high ground and use long-range weapons to hit marked enemies.
Weapon Choices
Total Battlefield:
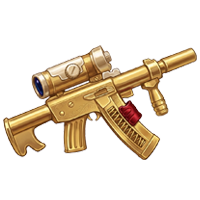
PTR-32 Assault Rifle (stable recoil, ideal for mid-range support)
M700 Sniper Rifle (long-range precision for marked targets)
Frontline Fire Zone:
CAR-15 Assault Rifle (flexible self-defense)
Prioritize attachments:
Scopes (long-range accuracy)
Extended mags (sustained fire)
Practical Combat Tips
Infiltration & Search (Fire Zone Mode)
Activate passive tracking; scan footprints near resource points to determine enemy presence.
Deploy drone for aerial recon; after confirming safety, place a Hummingbird Camera at the entrance before entering.
Inspect containers to obtain enemy gear intel (“carrying rocket launcher”), alerting teammates to high-threat enemies.
Encounter Response
1v1:
Track footprints → camera mark → pulse grenade to disable devices → flank and eliminate.
Multiple enemies:
Drone marks all → pulse grenade disrupts group → teammates focus fire → camera monitors survivors.
Point Attack & Defense
Attack:
Drone scans enemy distribution.
Pulse grenade disables defensive devices (e.g., alarms).
Camera marks gate defenders; push with teammates.
Against vehicles: drone marks → teammates use rockets.
Defense:
Cameras + drones on choke routes for cross-vision.
When enemies push: pulse grenade disrupts → drone self-destruct scatters formation → teammates apply crossfire.
Extraction Phase (Fire Zone Mode)
Scan extraction area with the drone to mark ambushers.
Throw pulse grenades along retreat paths to disable pursuers.
Place respawn beacons for team revival; stay behind to monitor until everyone extracts safely.
Team Synergy & Pitfalls
Team Synergy
Pair with aggressive operators (Weilong, Lao Hei) to provide intel for breakthroughs.
Combo with Weilong: attach magnetic bomb to drone → remote precision detonation.
Defending with Dark Blue: pulse grenade activates electrified barbed wire for stronger control.
With Luna: share marking data to expand vision coverage.
Avoid These Mistakes
Drone noise reveals position—move frequently, avoid hovering too long.
After placing a Hummingbird Camera, relocate to avoid counter-attacks.
Pulse grenade has no direct damage—must be paired with team firepower.
Vehicle weapon kills only count for direct fire; explosion splash kills do not count—important for task farming.


